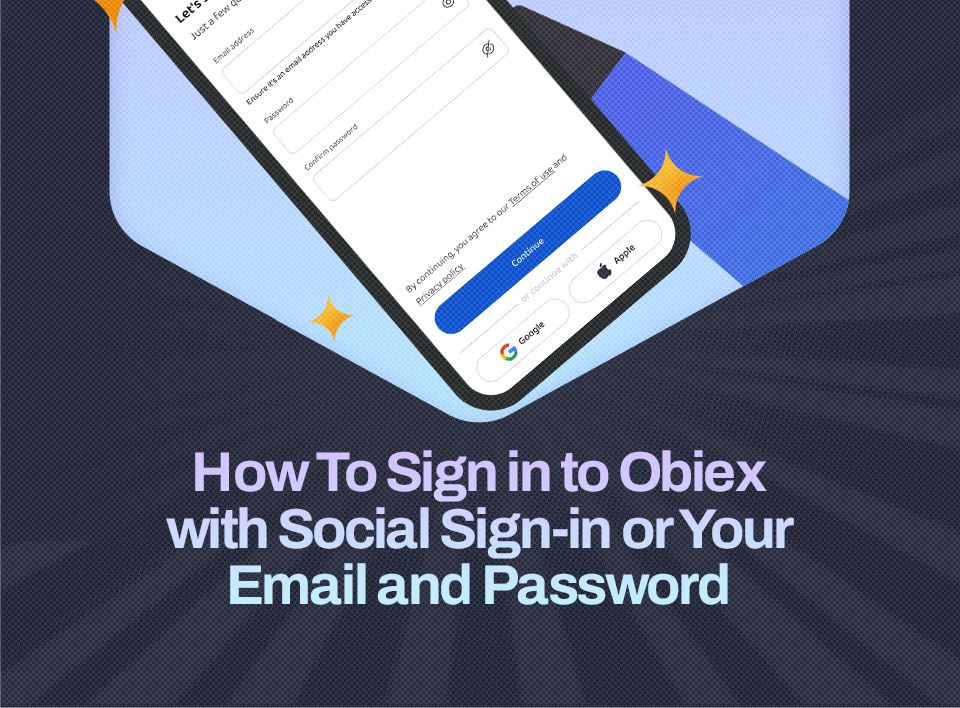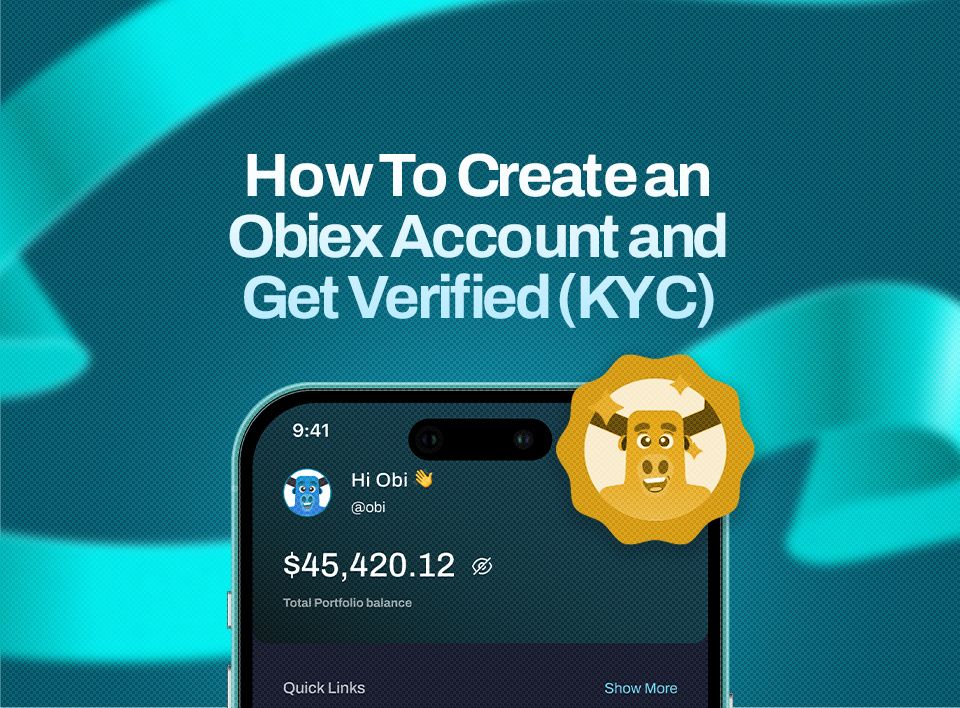
How To Create an Obiex Account (Step-by-Step)
Creating your Obiex account is simple and only takes a few minutes.
The first step is to download the Obiex app on the Google Play Store or Apple App Store.
Then, you can choose to sign up using your email or your Google account. Both methods are easy.
Option 1: Sign Up With Your Email
This is the most common way to create an account. Follow each step carefully:
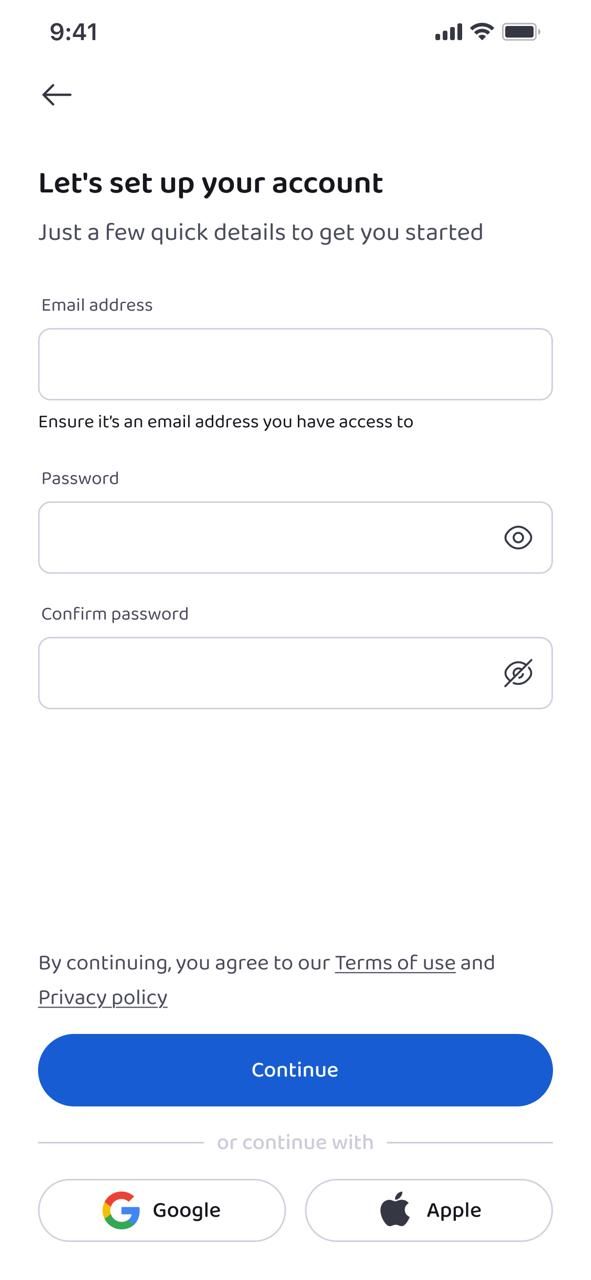
Step 1: Enter Your Email Address
Start by typing in a valid email address that you have access to. This is important because Obiex will send a verification code to this email.
Step 2: Create a Strong Password
Choose a password that is secure but easy for you to remember. A strong password should include:
- Letters (both uppercase and lowercase)
- Numbers
- Symbols (if allowed)
This helps protect your account from unauthorised access.
Step 3: Confirm You Are 18 or Older
Tick the checkbox to confirm that you are at least 18 years old. This is required before you can continue.

Step 4: Verify Your Email
After submitting your details, a verification code will be sent to your email.
- Go to your inbox
- Copy the code
- Paste it into the required field
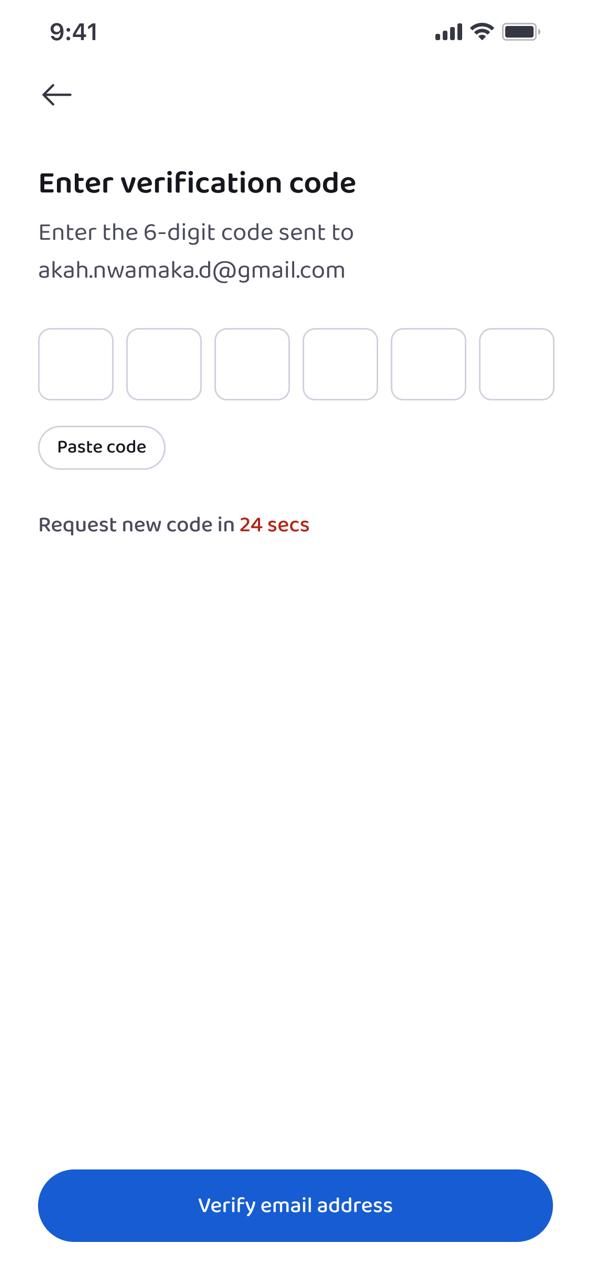
This step confirms that the email belongs to you.
Step 5: Enter a Referrer Code (Optional)
If someone invited you to Obiex, you can enter their referrer code here.
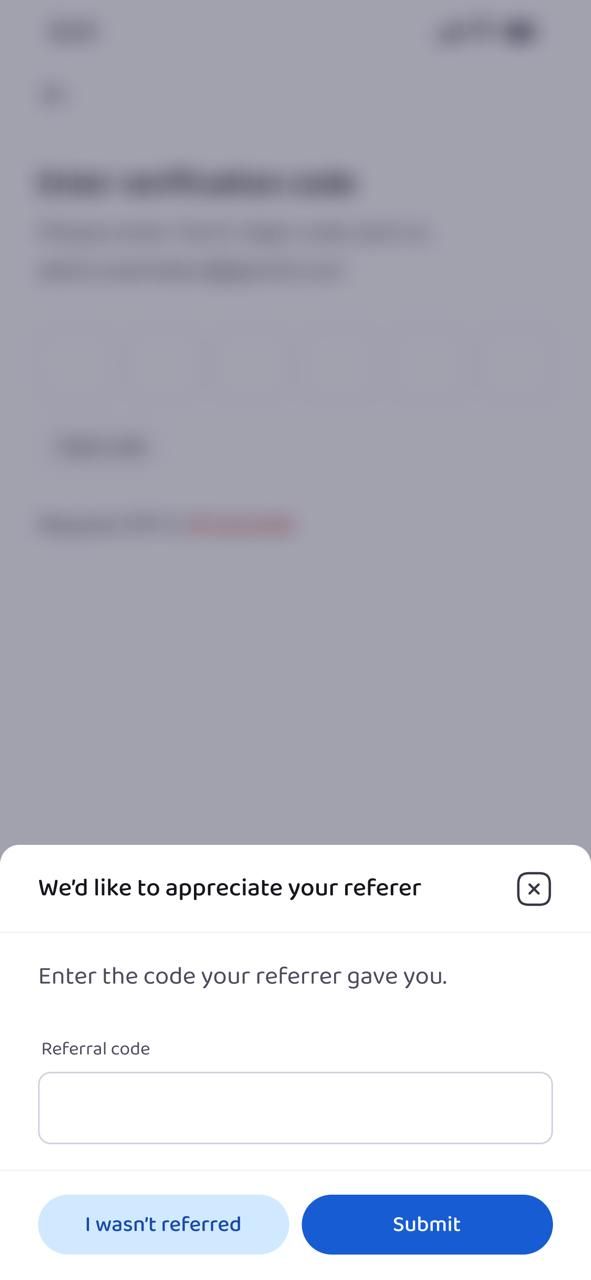
- This step is optional
- It may give you access to bonuses or rewards
If you don’t have a code, simply skip this step.
Step 6: Set Up Your Passcode
Next, you will create a passcode. This is different from your password.
- It is usually shorter (e.g., 4–6 digits)
- It is used for quick access and transaction approvals
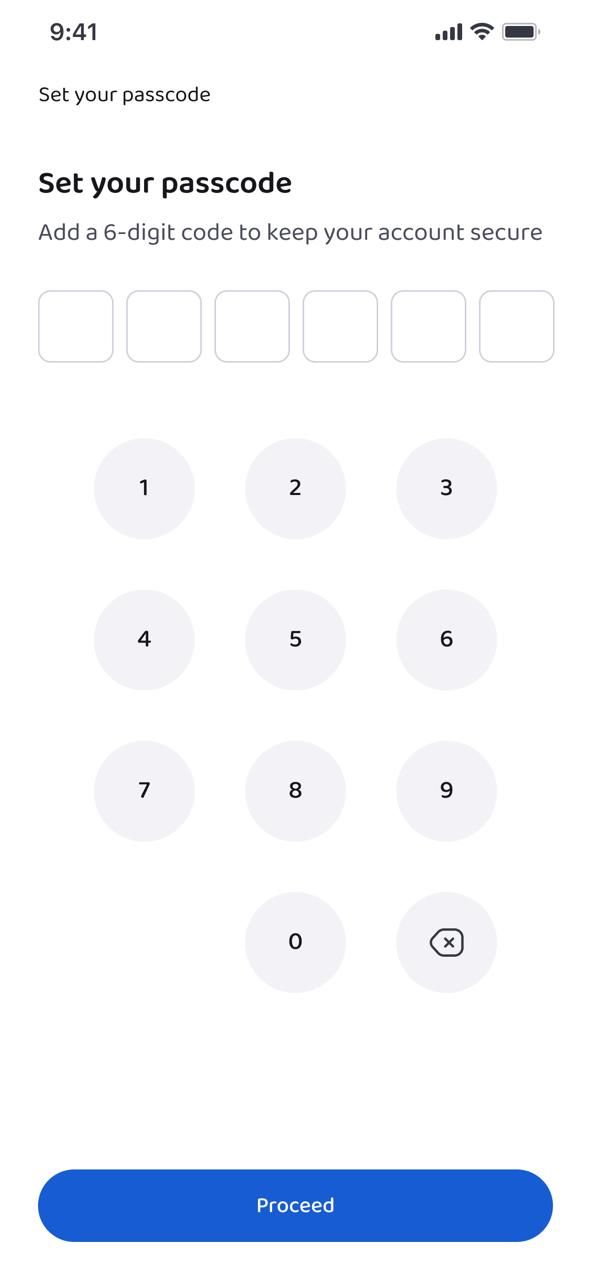
Choose something secure but easy for you to remember.
Step 7: Enable Biometrics (Optional but Recommended)
You may be asked to enable biometric login (fingerprint or face ID).
- This makes logging in faster
- It adds an extra layer of security
You can skip this step, but it is strongly recommended.
✅ At this point, your Obiex account is successfully created.
Option 2: Sign Up With Google
If you want a faster process, you can use your Google account. This removes the need to manually verify your email.
Step 1: Select “Sign Up With Google”
Click on the Google sign-in option.
Step 2: Choose Your Gmail Account
Select the Gmail account you want to use. Google will automatically confirm your identity.
Step 3: Enter a Referrer Code (Optional)
Just like with email sign-up, you can enter a referral code if you have one. If not, skip this step.
Step 4: Set Up Your Passcode
Create your passcode for quick and secure access to your account.
Step 5: Enable Biometrics (Optional)
Turn on fingerprint or face ID if your device supports it. This improves both speed and security.
✅ Your account is now ready to use.
How To Complete KYC on Obiex (Step-by-Step)
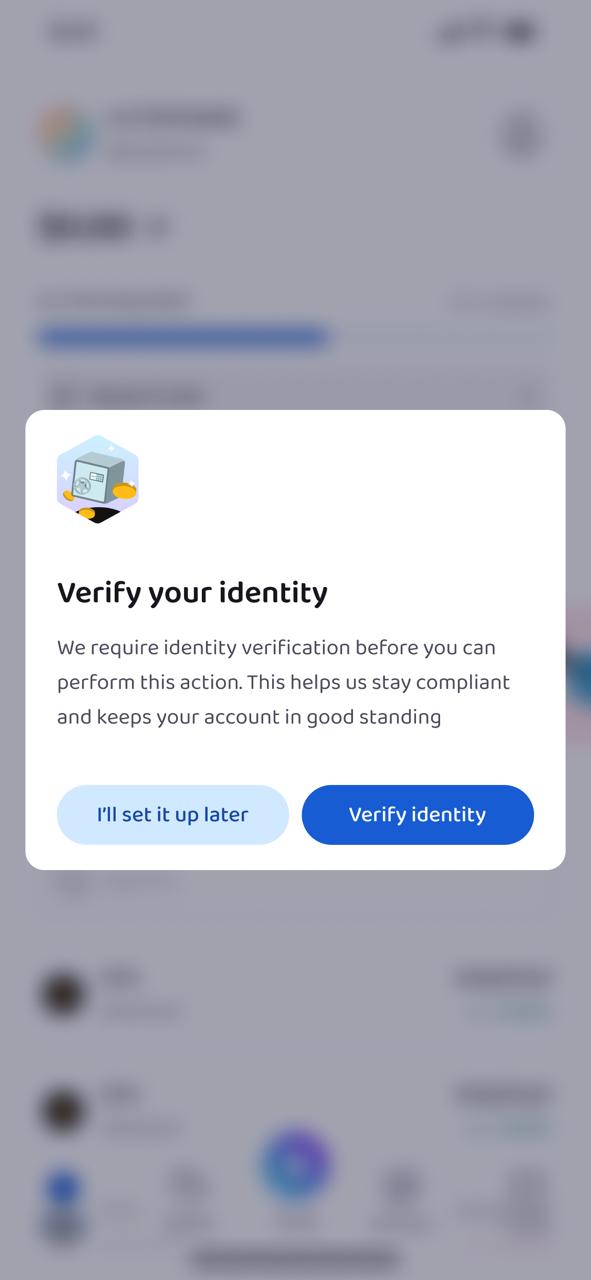
After creating your account, the next important step is completing your KYC (Know Your Customer). This is required to unlock full access to Obiex features such as higher transaction limits, secure withdrawals, and unrestricted usage.
KYC Level 1 (For All Users)
This is the first level of verification. Every user must complete this step.
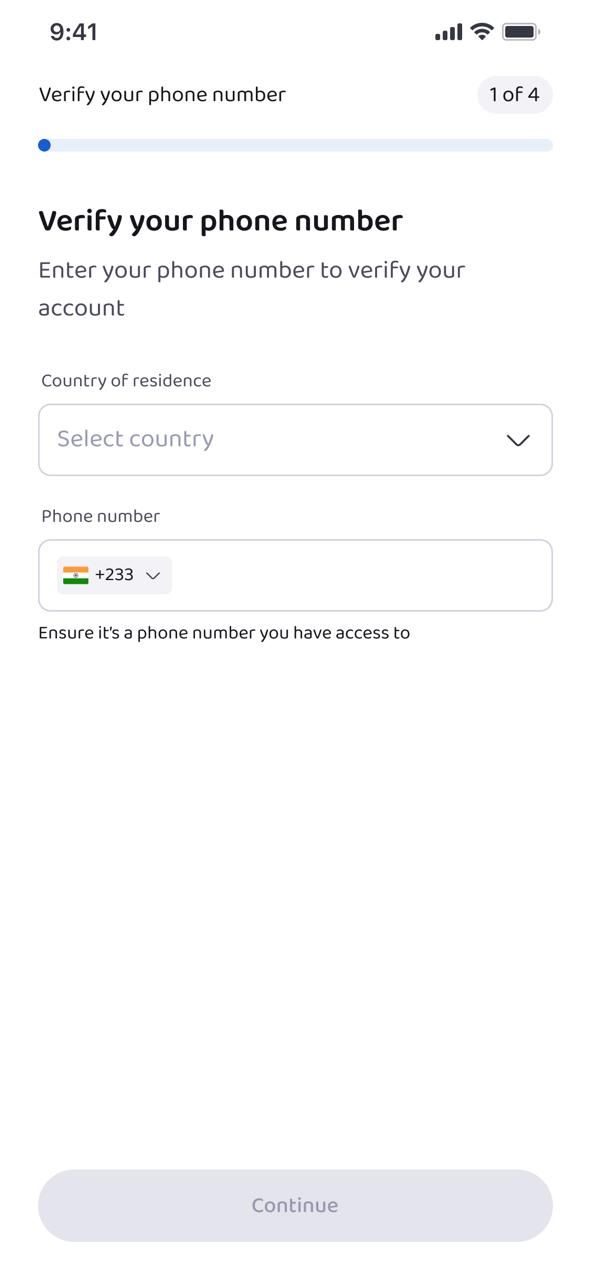
Step 1: Select Your Country of Residence
Choose the country where you currently live. Make sure this is accurate, as it affects your verification process.
Step 2: Enter Your Phone Number
Input your active phone number. This will be used for verification and account security.
Step 3: Verify Your Phone Number
You will receive a code via SMS.
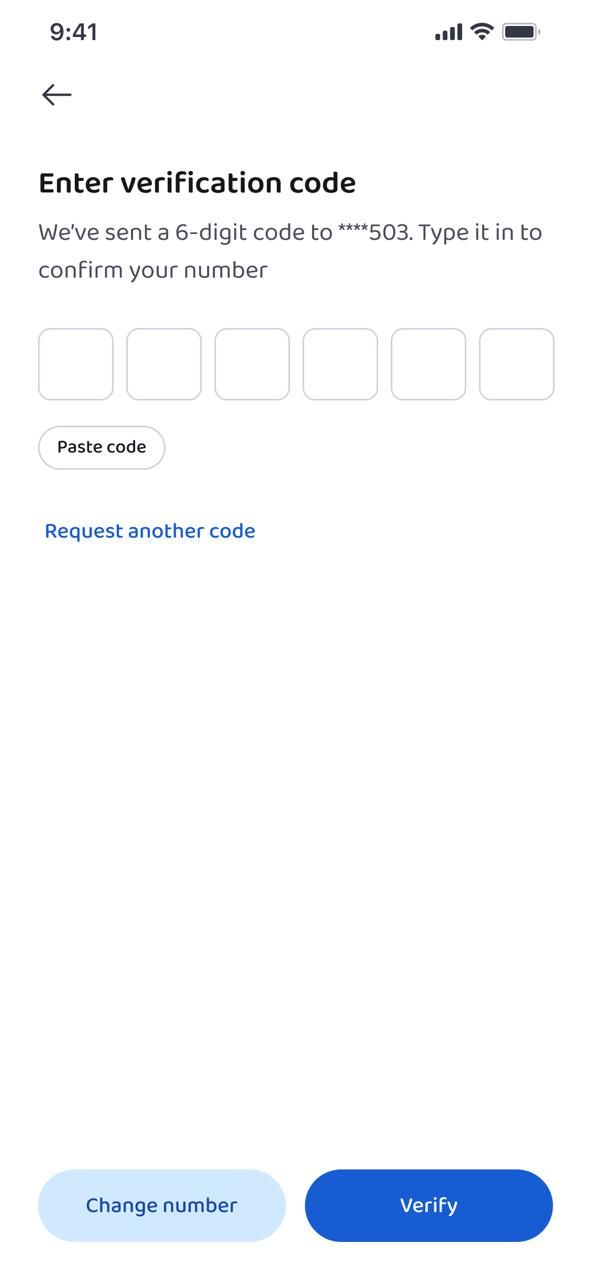
- Enter the code correctly
- Click “Verify”
This confirms that the phone number belongs to you.
Step 4: Provide Your Personal Details
You will now enter basic identity information:
- Your legal (full) name
- Your date of birth (DOB)
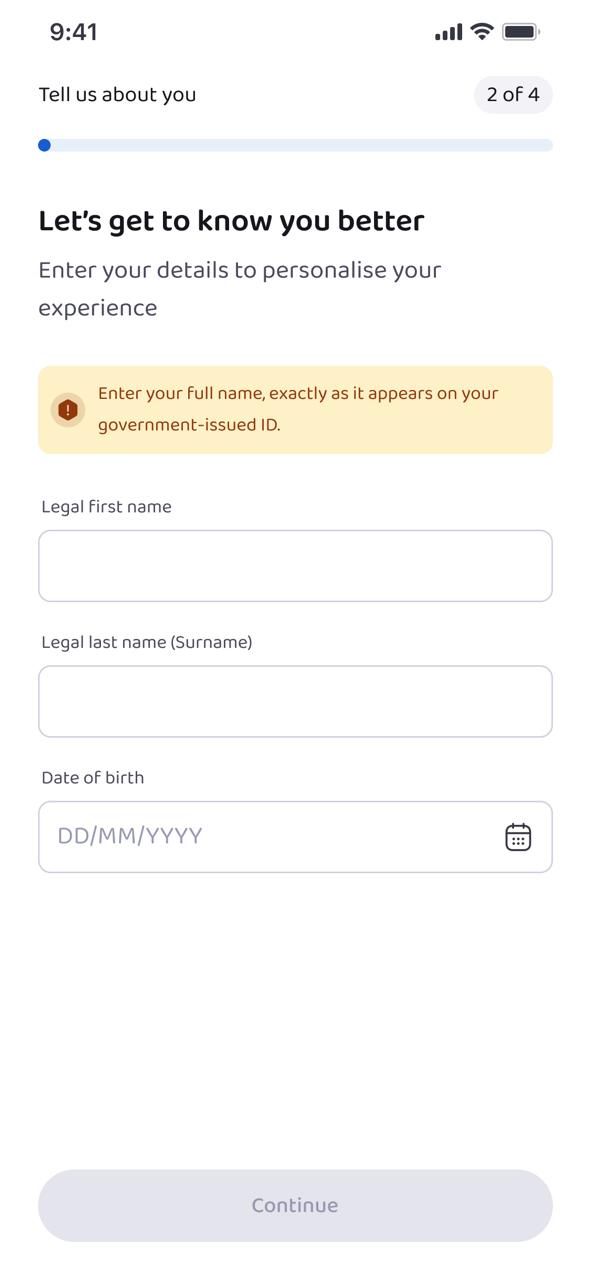
⚠️ Important:Your name must match the name on your official documents. Do not use nicknames or abbreviations.
Step 5: Answer Required Questions
Obiex will ask you a few simple questions. These are standard and help the platform understand how you plan to use your account.
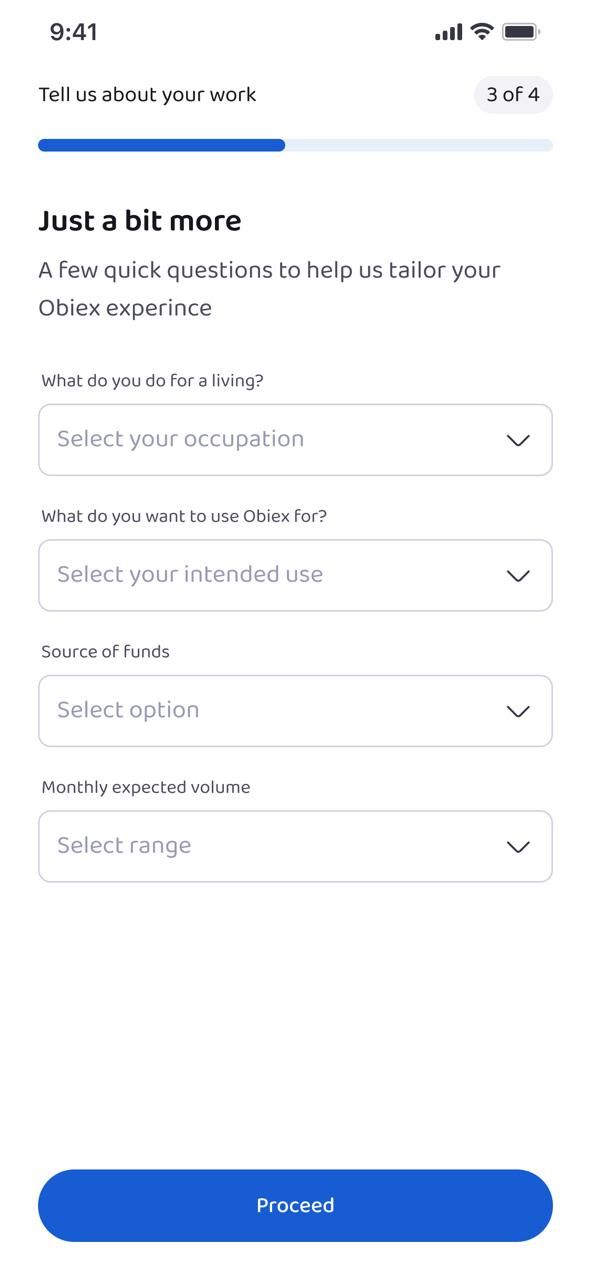
You will need to provide:
- What you do for a living (your occupation)
- What you want to use Obiex for (e.g., trading, payments, saving)
- Your source of funds (e.g., salary, business income)
- Your expected monthly transaction volume
Answer honestly and accurately. This helps prevent issues later.
Step 6: PEP Declaration (Very Important)
You will be asked if you are a Politically Exposed Person (PEP).
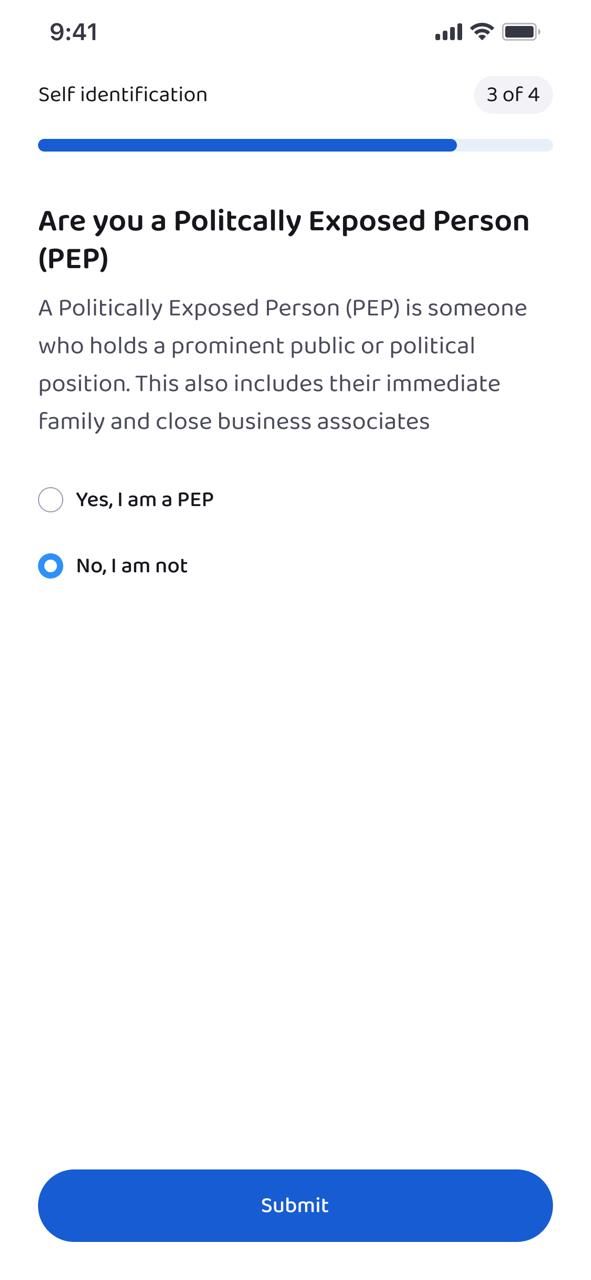
- Select Yes if you are a public official or closely related to one
- Select No if you are not
Important Outcome:
- If you select Yes (PEP) → your account will be closed based on policy
- If you select No → you can continue
Make sure your answer is correct.
Step 7: Create Your Username
Choose a unique username. This is how your profile will be identified on the platform.
Step 8: Pick Your Avatar
Select a profile image (avatar). This is optional but helps personalise your account.
✅ At this point, your KYC Level 1 is complete, and your profile is fully set up.
KYC Level 2 (Advanced Verification)
To unlock full features and higher limits, you need to complete KYC Level 2. The steps depend on your country.

KYC Level 2 (For Nigerian Users)
If you are in Nigeria, follow these steps:
Step 1: Provide Your NIN
Enter your National Identification Number (NIN) carefully.
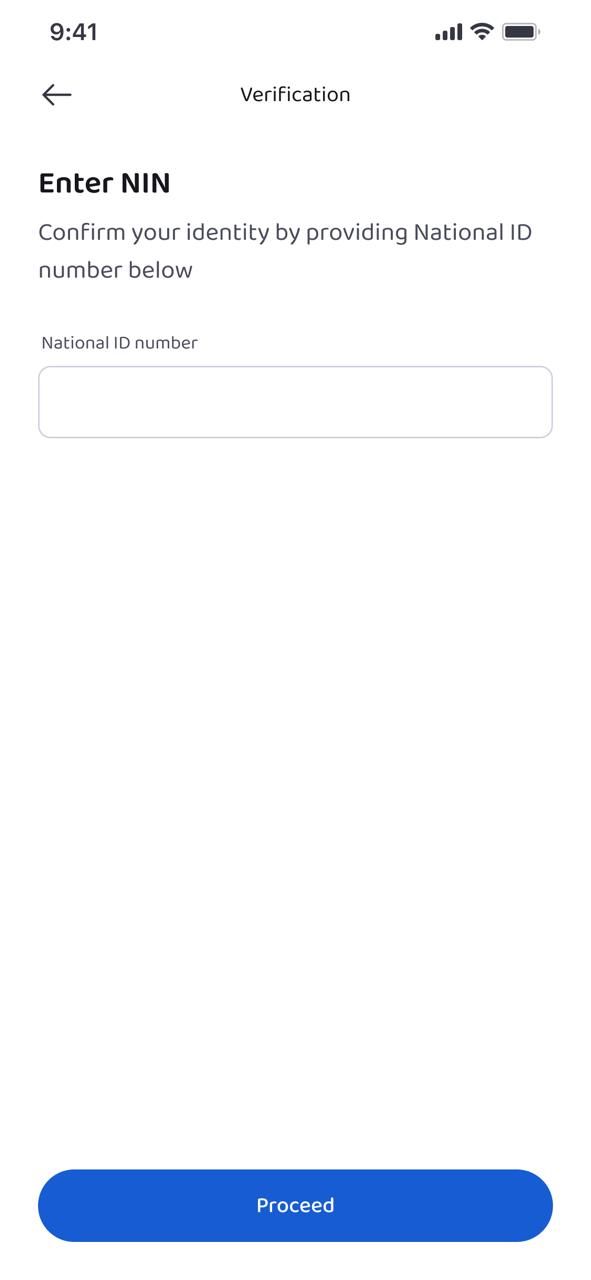
- Double-check for errors
- Ensure it matches your official records
Step 2: Complete Face Verification
You will be asked to scan your face using your device camera.
Tips for success:
- Stay in a well-lit environment
- Look directly at the camera
- Avoid wearing hats or glasses
- Follow on-screen instructions
✅ Once submitted, your details will be reviewed.
KYC Level 2 (For Non-Nigerian Users)
If you are outside Nigeria, the process is slightly different:
Step 1: Upload a Government-Issued ID
You can use any valid ID, such as:
- Passport
- Driver’s licence
- National ID card
Make sure:
- The image is clear and not blurry
- All details are fully visible
- The document has not expired
Step 2: Complete Face Verification
Just like Nigerian users, you will need to verify your face.
Follow the same best practices:
- Good lighting
- No obstructions (e.g., sunglasses, caps)
- Stay still and follow instructions
✅ Your verification will be processed after submission.
Are you ready to unlock access to a great trading experience?
👉 Download the Obiex app now, create your account, and complete verification to unlock full access.
FAQs
1. Is creating an Obiex account free?
Yes, creating an account is completely free.
2. Can I use Obiex without KYC?
Yes, but with very limited features and restrictions.
3. How long does KYC verification take?
It usually takes a short time, but it may vary depending on the review.
4. What happens if I enter the wrong details?
Your verification may fail. Always use correct information.
5. Can I change my email after registration?
This depends on platform settings. Contact support if needed.
6. Is my personal information safe?
Yes, your data is protected using security measures.
7. What is a referrer code?
It is a code from another user that may give you rewards.
8. Do I need KYC Level 2?
Yes, if you want full access and higher limits.
9. What ID can I use for verification?
Any valid government-issued ID (or NIN for Nigerian users).
10. Why was my account closed after KYC?
If you selected “PEP Yes,” your account may be closed based on policy.
Disclaimer: This article was written to provide guidance and understanding. It is not an exhaustive article and should not be taken as financial advice. Obiex will not be held liable for your investment decisions.