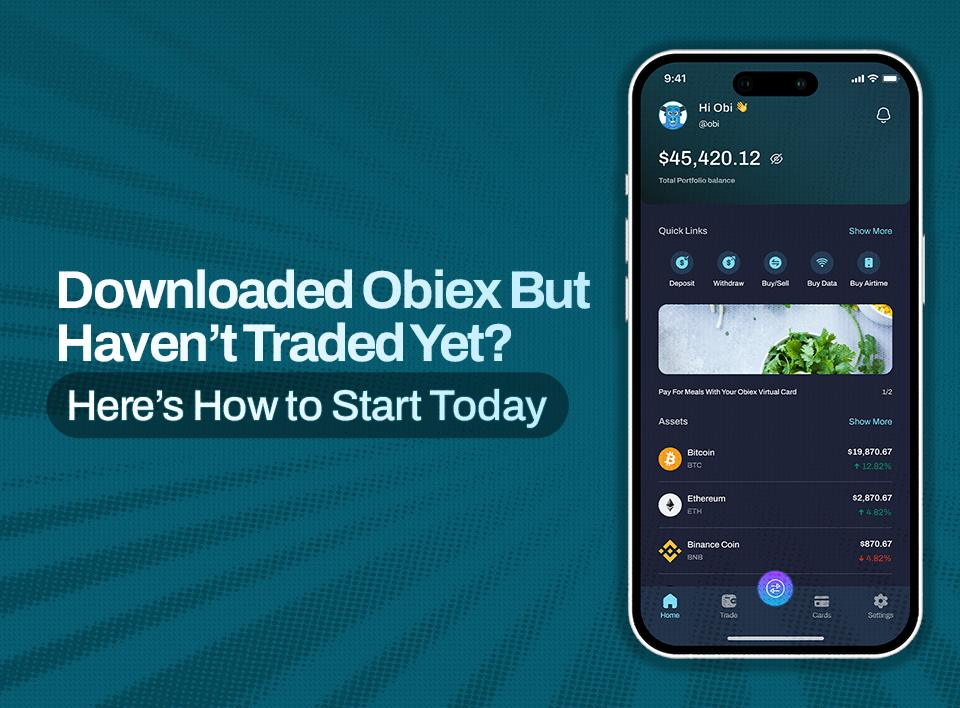
So, you’ve downloaded the Obiex app. Great first step!
Here’s what to do next to start enjoying instant swaps with zero fees.
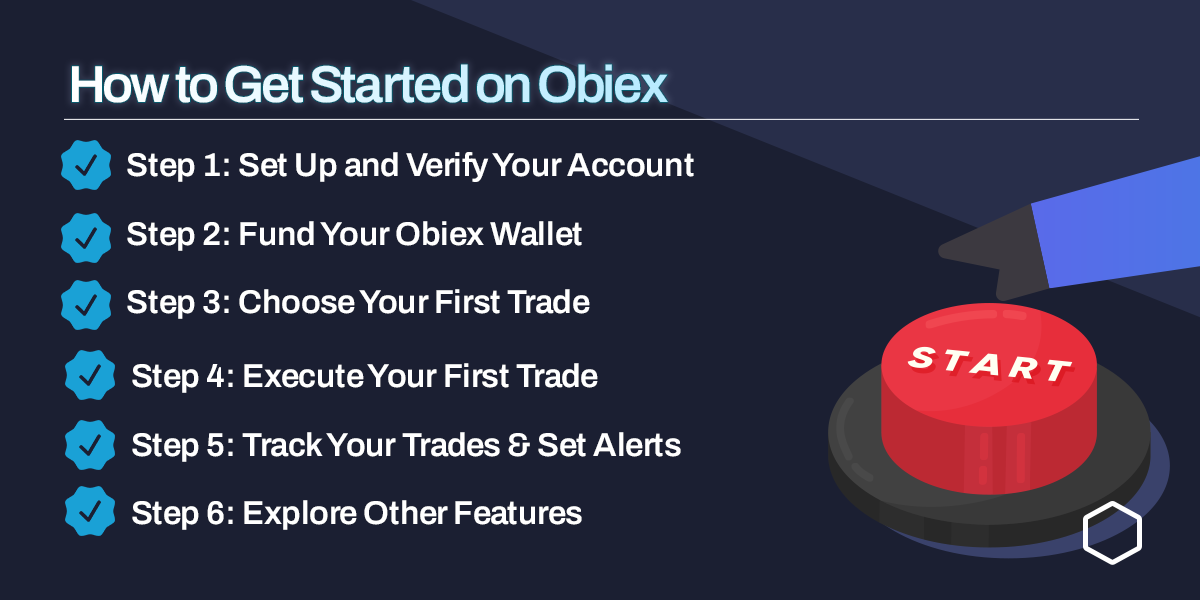
Step 1: Set Up and Verify Your Account
Before you start trading on Obiex, the first and most important step is setting up and verifying your account.
This process only takes a few minutes, but it’s what unlocks your ability to fund your wallet, swap crypto, and enjoy all the platform’s features without limits.
How to Verify Your Obiex Account
Here’s how to complete your KYC in under 5 minutes:
1. Open your Obiex app, select “More” on the bottom right corner of your homepage, and then click “Settings”.
- Tap “Verification”.
- Enter your basic details: your full name (as it appears on your ID), date of birth, and residential address.
- Upload a valid government-issued ID. Depending on your country, this can be:
- Nigeria: NIN
- Ghana: National ID, Driver’s Licence, or International Passport
- Cameroon: National ID, Driver’s Licence, or International Passport
- Take a quick selfie for facial verification. Make sure you’re in a bright area with your whole face clearly visible.
That’s it. Once you submit your information, Obiex automatically reviews it. In most cases, verification is approved within 5 minutes. You’ll get a notification once it’s complete.
Tips for Faster Verification
To make your verification smooth and instant, keep these tips in mind:
- Use matching details. Your name on the app should match exactly what’s written on your ID.
- Avoid blurry photos. If your ID or selfie is unclear, the system may reject it. Take the photos in good lighting.
- Check your email. Sometimes, if there’s an issue (like an expired ID), you’ll get an email from Obiex asking for re-upload.
Tip: If you’ve already submitted your details but haven’t been verified after a few hours, visit the in-app chat or email [email protected].
What Happens After Verification
Once your KYC is complete, you’ll immediately see your account status change from “Unverified” to “Verified.”
This unlocks key features such as:
- Deposits and withdrawals in your local currency (NGN, GHS, or XAF)
- Unlimited crypto swaps across all supported tokens
- Cross-border transactions and transfers between other verified Obiex users
- Access to Copy Trading and Business tools (for verified business users)
From here, you can go straight to funding your wallet and completing your first trade.
Step 2: Fund Your Obiex Wallet
This is where your crypto journey really begins. Funding your wallet gives you the ability to buy, sell, and swap crypto instantly.
Whether you’re in Nigeria, Ghana, or Cameroon, Obiex makes it easy to deposit your local currency and start trading in minutes.
How to Fund Your Wallet
Funding your wallet on Obiex is simple, quick, and flexible. Here’s how to do it step by step:
1. Open the Obiex app and tap “Wallet” on the bottom navigation bar.
2. Choose your preferred local wallet:
- NGNX for Naira (Nigeria)
- GHS for Cedis (Ghana)
3. Tap “Deposit.”
4. Choose your funding method:
- Bank Transfer (Instant): Get a virtual account number, send money from your bank app, and your funds appear immediately.
- Crypto Deposit: Receive crypto directly from another wallet or exchange (for users with existing crypto).
5. Enter the amount you want to fund and follow the on-screen instructions.
Within seconds, your balance will reflect, and your wallet will be ready for trading.
Why Funding on Obiex is Different
Unlike many crypto platforms that make you wait hours or charge hidden fees, Obiex focuses on speed, simplicity, and transparency.
Here’s what makes it stand out:
- Instant Funding: Most deposits reflect in your account within 60 seconds.
- Zero Deposit Fees: You keep every Naira, Cedi, or Franc you add.
- Secure Transactions: All deposits are protected with bank-grade encryption.
- Multi-Currency Support: You can fund in NGN, GHS, or XAF without using third-party converters.
- Flexible Options: Choose between local transfer, mobile money, or crypto deposits, whatever works best for you.
Step 3: Choose Your First Trade
Now that your Obiex wallet is funded, it’s time to take your first big step: making your first trade.
Let me walk through how to choose your first trade and get started the smart way.
Understanding How Trading Works on Obiex
There are two main ways to trade crypto on Obiex:
1. Swap: A quick, direct exchange between two currencies. For example, swapping NGNX to USDT or USDT to BTC.
- It’s instant, simple, and free of trading fees.
- Perfect for beginners who want to buy or sell crypto without dealing with charts or complex orders.
2. Trade (Advanced): This option is for users who want to monitor market prices, set buy/sell orders, and track price movements. It gives you more control, but also requires some experience.
For your first trade, start with Swap. It’s fast, easy to understand, and helps you learn the basics of trading before exploring advanced features.
Choosing the Right Crypto Pair
When you trade (or swap), you’re always exchanging one currency for another. That combination is called a trading pair. For example:
- If you’re converting Naira (NGNX) to USDT (Tether), the pair is NGNX/USDT.
- If you’re converting USDT to Bitcoin, the pair is USDT/BTC.
Obiex offers many trading pairs, but as a new user, it’s best to start with simple and popular ones.
Here are a few beginner-friendly pairs to start with:
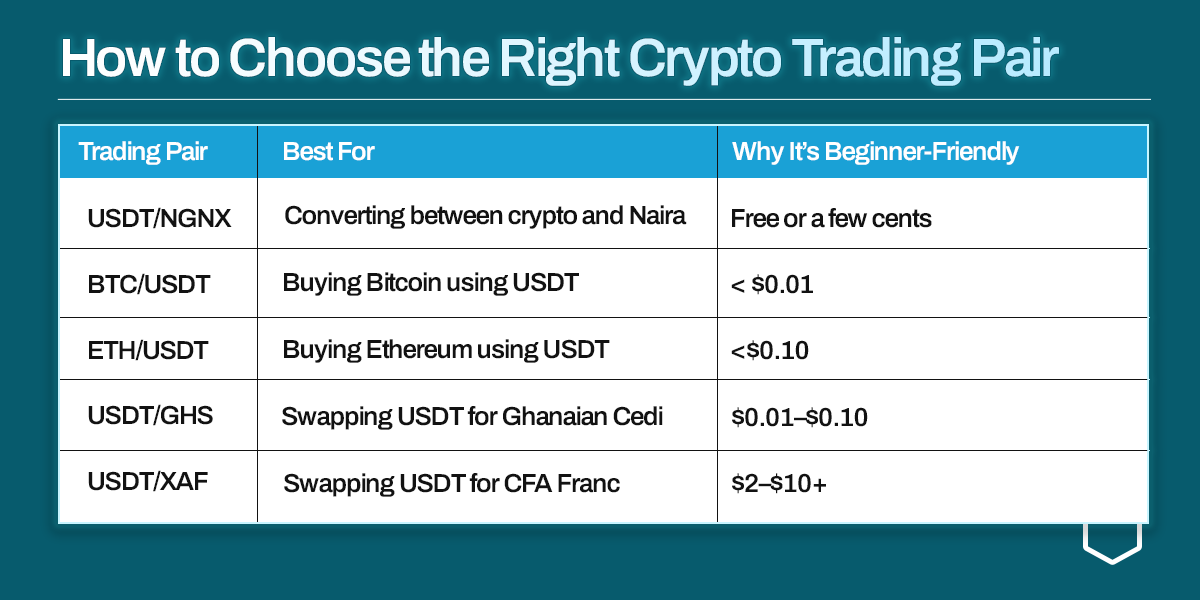
Tip: If you’re not sure where to start, begin with USDT (Tether). It’s a stablecoin, so it’s always close to the value of 1 US dollar. This makes it less risky and ideal for first-time traders.
Factors to Consider When Choosing Your First Trade
1. Start Small: You don’t need to trade your entire balance right away. Try starting with a small amount just to understand how the process works.
2. Pick Stablecoins First: Stablecoins like USDT (Tether) are pegged to the U.S. dollar, so their price doesn’t swing wildly. It’s the best way to get familiar with trading before moving to more volatile coins like Bitcoin or Ethereum.
3. Watch the Rate, but Don’t Overthink It: Crypto prices change constantly. Focus on learning how swaps work first. You can always track prices later using Obiex alerts.
4. Avoid FOMO (Fear of Missing Out): You don’t need to chase trending coins or viral tokens on your first day. Stick to trusted, widely used coins like BTC, ETH, and USDT.
Step 4: Execute Your First Trade
Your account is verified, your wallet is funded, and you’ve chosen your first trading pair. Now it’s time to execute your first trade on Obiex.
How to Execute Your First Trade
- Open your Obiex app and log in.
- Tap the “Swap” icon at the bottom of your screen.
- Select the currency you want to swap from. For example, NGNX, GHS, or USDT.
- Choose the currency you want to swap to. For example, USDT, BTC, or ETH.
- Enter the amount you want to exchange.
- Tap “Preview Rates” to see the rate and confirm details.
- Once everything looks good, tap “Swap Now.”
And that’s it. Your trade is executed instantly.
You’ll see your new balance reflected in your wallet immediately, without waiting for blockchain confirmations or extra fees.
Note: Obiex automatically finds the best rate available for your trade at that moment, ensuring you always get the most value for your money.
Safety and Security While Trading
Every trade you make on Obiex is protected with bank-level security and encryption. The platform never exposes your private keys or asks for unnecessary approvals before processing your trade.
Here’s how Obiex keeps you safe:
- Multi-layer authentication: Each action (login, trade, withdrawal) is protected with OTP or biometrics.
- Real-time monitoring: Transactions are checked for suspicious activity.
- Secure wallet management: Your funds remain safe, even during market volatility.
Step 5: Track Your Trades & Set Alerts
Now that you’ve completed your first trade on Obiex, you’ve officially joined the crypto community. Congratulations!
The next important thing to learn is how to track your trades and stay updated on market movements.
This helps you make smarter decisions, manage your assets better, and take advantage of price changes quickly.
How to Track Your Trades on Obiex
1. Open the Obiex app and tap “Wallet” at the bottom of your screen.
2. You’ll see a list of all your crypto and fiat balances. For example, USDT, BTC, ETH, NGNX, GHS, and more.
3. Tap on any coin to view your transaction history.
- You’ll see every swap, trade, send, or receive action you’ve done, including dates, amounts, and rates.
- Each entry is clickable, so you can view full details of that transaction.
Pro Tip: Check your transaction history weekly to understand how your trading patterns are developing. It helps you make more confident moves in the future.
Step 6: Explore Other Features
Obiex offers much more than just buying and selling crypto.
Let’s walk through the key extra features you can explore.
1. Send and Receive Crypto With Usernames:
It’s easy to make a mistake when you copy a long wallet address with tons of letters and numbers. With Obiex, you can send crypto using the recipient’s username:
- Tap “Wallet” in your Obiex dashboard, select the crypto coin you wish to send from, and select “Withdraw”.
- Select “Send to Obiex Username”.
- Enter the recipient’s Obiex username (for example, @ObiexJane).
- Enter the amount of crypto you want to send, and hit “Proceed”.
Your transfer happens instantly, with no fees and no waiting for blockchain confirmations.
2. Multi-Fiat Support:
Obiex supports multiple African currencies, like NGN (Naira, Nigeria), GHS (Cedi, Ghana) and XAF (Franc, Cameroon). That means:
- You can deposit in your local currency, swap into crypto, and hold it without needing to convert into dollars first.
- You can send or receive money to/from another country without multiple apps or bank intermediaries.
- You get flexibility: Your wallet isn’t locked to one country’s currency.
3. Business Payments:
If you’re running a business, freelancing, or receiving payments internationally:
- You can receive payments in USDT, BTC, ETH or other supported coins.
- You can instantly swap crypto to your local currency if you want to withdraw or spend locally.
- You don’t need traditional bank transfers that might take days or incur heavy fees.
4. Saving and Diversification:
Beyond trading on Obiex, you can:
- Hold stablecoins to protect your funds from inflation.
- Swap part of your saved amount into longer-term assets like BTC or ETH if you’re comfortable.
- Diversify across multiple coins and currencies to manage risk.
5. Utility Payment:
You can buy airtime/data, pay your electricity bills, your cable TV subscriptions, and more, from your Obiex wallet, without converting to fiat first.
1. Open Obiex , Tap “More”, and select “Utilities”.
2. Select what you want to pay (airtime, electricity, cable).
3. Choose the wallet to debit (USDT, BUSD, USDC, or NGNX etc.).
4. Enter the details (phone number, meter number, smartcard, etc).
5. Confirm payment with PIN/2FA.
6. Competent Customer Support & Learning Resources:
Obiex doesn’t just give you tools. It gives you support and learning:
- In-app help or chat support is available 24/7 to help with deposits, verification, or any issues.
- The Obiex Blog features easy guides and updates to advance your crypto and financial knowledge.
7. Advanced Tools for Experienced Users:
Once you feel comfortable, you can explore more advanced features:
- OTC (Over-The-Counter) Desk: For high-value trades with better liquidity and personalised support.
- Referral Programme: Invite friends, and when they trade, you earn rewards.
Your first trade is only a few clicks away.
Start now and experience why thousands of African traders trust Obiex for fast, secure, and zero-fee crypto trading.
👉Start trading on Obiex today.
FAQs
Q1. How do I start trading on Obiex for the first time?
Simply verify your account, fund your wallet, and go to “Trade” → “Swap” to exchange one crypto for another instantly.
Q2. Can I fund my Obiex wallet instantly in Nigeria?
Yes. Most deposits via bank transfer instantly, with zero deposit fees.
Q3. What crypto pairs should beginners trade first?
Begin with stable and easy pairs like BTC/USDT, USDT/NGNX, or USDT/ETH.
Q4. How long does it take to execute my first trade?
Your first swap can be completed in under two minutes once your wallet is funded.
Q5. Can I trade without completing KYC on Obiex?
Basic features may work, but you’ll need KYC verification to access full trading, deposits, and withdrawals.
Q6. Are there trading fees on Obiex?
No. Swaps on Obiex are completely free.
Q7. Can I trade with Ghanaian Cedi or CFA Franc?
Yes. Obiex supports GHS and XAF, so users in Ghana and Cameroon can fund and trade in local currencies.
Q8. How do I track my trading history?
Go to your wallet, select a coin, and check the transaction history section.
Q9. What should I do if my deposit doesn’t reflect?
Wait a few minutes, then contact Obiex Support. They’re available 24/7 to assist you.
Q10. Where can I learn more about advanced trading on Obiex?
Check out our guide: Beyond Swaps: Everything You Can Do on Obiex.
Disclaimer: This article was written to provide guidance and understanding. It is not an exhaustive article and should not be taken as financial advice. Obiex will not be held liable for your investment decisions.